Stepping back and taking in your new painting, sculpture, photo project—whatever your artistic discipline, it’s a wonderful feeling. But deciding a piece is “finished” and saying it’s “exhibition-ready” aren't the same thing.
For a piece to be exhibition-ready, it has to stand on its own once it leaves your studio. The piece has to be ready to be installed and sold, and it has to convey its meaning without you standing beside it to explain everything. The art has to be able to tell its story, even when you’re not there to speak for it.
That takes work, and that’s the tough news. But the good news is that—with a little preparation and a clear system for completing each step in the “exhibition-ready” process—you can make this work simple. You can even make it rewarding.
Here are five things every artist should do to prepare finished artwork for collectors, galleries, and sales.
1. Price Your Artwork With Confidence
Picture yourself at an opening. Someone stops in front of your piece, turns to you, and puts the question to you: "What are you asking for this?"
What comes out of your mouth?
If your answer involves a range, an apology, or a sentence that starts with "well, it depends," your work isn't ready. A price you're still negotiating with yourself isn’t one that’s ready to share with collectors.
Your price needs to be a number you've already made peace with. One that makes sense relative to your other work, your exhibition history, and the size and medium of the piece.
How to Price Your Artwork
Pricing consistently across a body of work takes the guesswork out of individual decisions. Artwork Archive lets you track your artwork records—including pricing—all in one place, so you can see patterns across your portfolio and price with confidence.
Want more insights into how to price your work? Read our advice column to learn how the pros do it:
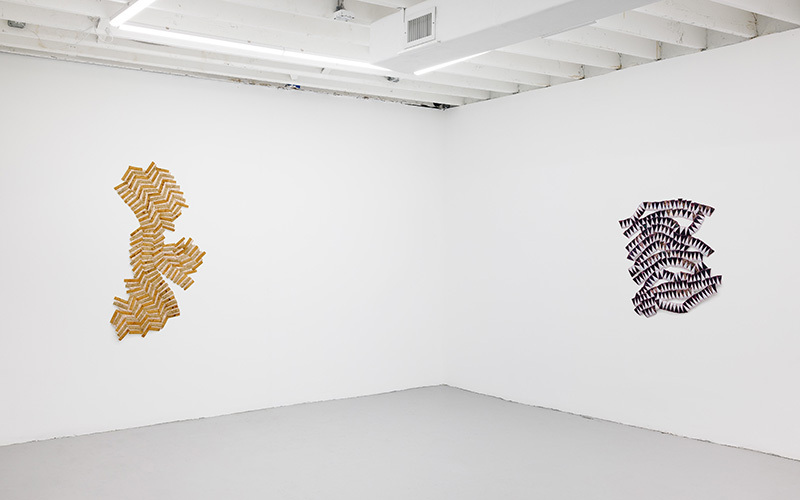 Effective artwork documentation makes it so much easier for collectors to say "yes." Photo courtesy of Regina Durante Jestrow.
2. Document Your Artwork Professionally
It’s 2026: more likely than not, someone is going to see a JPEG of your work before they ever see it in person. On a jury panel, a collector's screen, or an open call, your image is critical.
If you skimp on documentation, this reality just won’t work for you. When a poorly documented image is sitting beside hundreds of others, bad lighting, awkward crops, and washed-out color all add up. A compelling piece photographed carelessly loses to a mediocre one photographed well.
Effectively documenting your work is simple, if you create the right conditions. Set aside a dedicated area of your studio for documentation. Invest in a good digital camera, a good lens, and a tripod—it doesn’t have to be the latest pro setup, basically any full-frame digital camera you can buy today will be good enough.
Set aside a time every week or every month to document your work in batches—it doesn’t matter how frequently you do this, but commit to it! The worst feeling in the world is a collector asking you for images about that piece they saw in your studio, and all you have is a dark cell phone photo of it on hand.
Exhibition-ready documentation means:
- High-resolution files that hold up at any size
- Even lighting—try shooting your pieces near a large window
- Accurate color—not over-edited, not filtered
- Multiple angles for sculptural or dimensional work
- Complete metadata with title, medium, dimensions, and year clearly labeled in the file name or accompanying record
If you absolutely can’t get a good photo of your work, consider hiring a professional: ask your photographer friend, ask your fellow artists who they use for documentation. It’s worth it.
💡 Pro-Tip: Store All Your Art Images Together
Did you know that with Artwork Archive you can attach multiple images to each artwork record? This is great way to keep track of those “work in progress” images that can be so compelling to collectors looking to see how a piece came together.
3. Create a Certificate of Authenticity for Your Artwork
Gallery directors and curators work with a lot of artists. They notice the ones who have their paperwork together, and they remember the ones who don't.
A Certificate of Authenticity (COA) is the document that confirms your piece is what you say it is. It travels with the work, protects the collector with proof that the work came from your studio, and tells everyone who steps foot in your studio that you run your practice with intention.
A complete COA includes:
- Your signature
- Title of the work
- Year created
- Medium and materials
- Dimensions
- Edition information, if applicable
Collectors value COAs. Galleries expect them. And increasingly, they're table stakes for any serious sale.
Creating a Certificate of Authenticity Is Easy in Artwork Archive
Artwork Archive can generate a Certificate of Authenticity directly from your artwork record, no reformatting or digging through old files required. It's one of the fastest ways to look like the professional you already are.

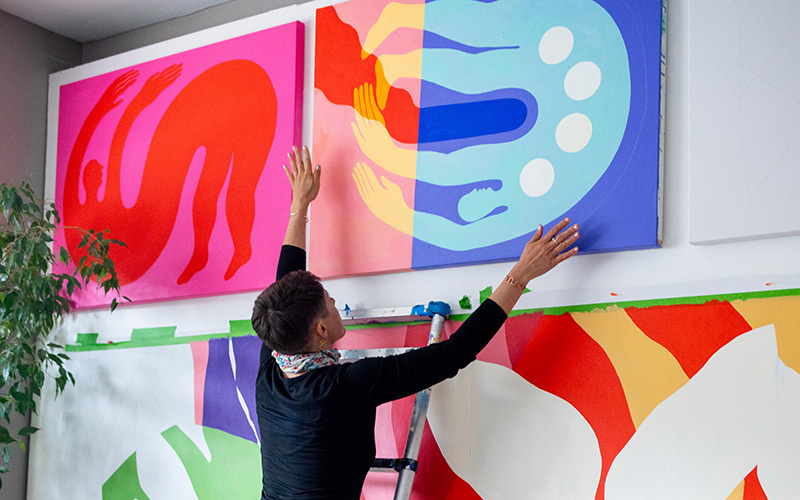 You might think it's obvious how your work should be installed—that's no guarantee your gallery thinks the same. Photo courtesy of Rose Jaffe.
4. Prepare Clear Installation Instructions for Your Artwork
The person installing your work in a gallery is usually not you.
In group shows especially, install happens fast, often with whoever happens to be around that morning. If you haven't given anyone specifications for how to hang, mount, or light your work, they're going to figure it out themselves.
Sometimes that works out fine. Sometimes you end up with a piece hung poorly (even upside down!) ten minutes before doors open.
What to include in your install specifications:
- Framed and unframed dimensions
- Weight (critical for determining hardware)
- Existing hardware on the back (D-rings, wire, cleat, etc.)
- Orientation, if it's not immediately obvious (this is where an Exhibition Report with clear images can help)
- Preferred hanging height, if you have one
- Any special requirements for lighting, humidity, or mounting conditions
A one-page install sheet tucked in with your COA takes a few minutes to create and saves everyone time and confusion. For artists working in installation, video, or mixed media, these instructions are even more essential.
Keep All Your Artwork Details On File
Once you've created an install sheet for a piece, store it with the artwork record so it's ready for the next opportunity. Artwork Archive lets you attach documents directly to individual works, so your COA, install specs, and any exhibition history live in one place rather than scattered across your desktop.
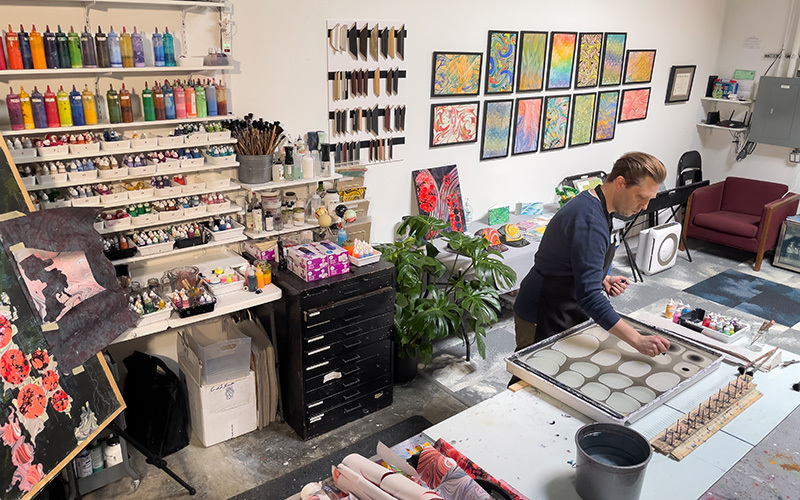 You may know what your art's about, but your audience doesn't—telling your story effectively is key. Photo courtesy of Keith Garubba.
5. Make Sure Your Artist Statement and Bio Are Current
When was the last time you updated your artist bio and project statement?
Because whoever is writing the wall text, show description, or press release for an exhibition is pulling from those documents. If they are outdated, vague, or written in language that doesn't sound like you, too bad: that's what gets published.
Both documents should be current, specific, and unmistakably yours. Here’s what to include in each:
Artist Bio — Written in the third person. It's about you: who you are, what your practice looks like, where you've shown, what recognition you've received. It's the professional record of your career.
Artist Statement — Written in the first person. It's about the work: what it's doing, why it exists, what it's in conversation with. It gives your practice context and meaning for someone encountering it for the first time.
Both should be updated at least once a year, or any time your practice takes a significant shift. A statement written three-bodies-of-work-ago may not reflect where your practice is now.
Need to Refresh Your Artist Documents?
Check out Write Now: The Essential Writing Workshop for Visual Artists—it’s free and walks you through everything you need to know about crafting your artist statement, bio, and more.
Prepare Your Artwork for Galleries, Exhibitions, and Collectors
You already did the hard part. You made the work.
But the artists who show consistently, who get the callbacks and build real collector relationships, treat exhibition readiness as part of the work itself, not an afterthought they hand off to someone else.
These five simple steps are the difference between work that's seen and work that's passed over, between a sale and an "I'll think about it.” Make these steps a part of your practice and see how curators, collectors, and galleries take a newfound interest in your work.
💡 Pro Tip: Download the Exhibition Checklist
Think you’re ready to share your work with the world? Download Artwork Archive’s Stress-Free Exhibition Checklist to make your next show a success.
Ready to Keep Your Art Career Organized in One Place?
When your next opportunity comes, you’ll be ready before the deadline hits: start a free 14-day trial today to explore all the tools built to take your art career further.